
It has enabled us to connect a wide range of devices to the internet, creating a network of smart devices that communicate with each other to make our lives more comfortable and efficient. IoT has the potential to transform various industries, such as healthcare, manufacturing, and logistics, to name a few. However, a reliable and secure IoT network is crucial to ensure the safety and efficiency of the connected devices. In this blog, we will discuss how to configure a LoRaWAN network, one of the most popular IoT technologies, using a LoRa Gateway in 5 simple steps.
What is LoRaWAN and LoRa Gateway?
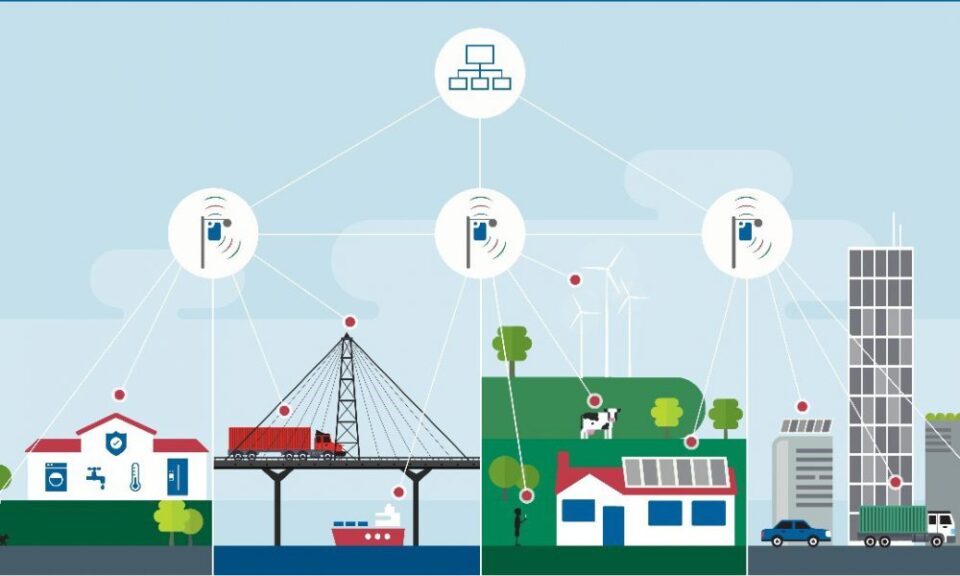
LoRaWAN is a wireless communication protocol designed for IoT devices that use low-power, long-range, and wide-area network (LPWAN) technology. It allows IoT devices to transmit data wirelessly over long distances, making it ideal for remote monitoring and control applications. LoRa Gateway is a device that acts as a bridge between the LoRaWAN devices and the internet. It receives the data transmitted by the devices and forwards it to the cloud or other applications over the internet.
Step 1: Choosing the Right LoRa Gateway
Choosing the right LoRa Gateway is essential to ensure the reliability and scalability of your IoT network. There are various types of LoRa gateways available in the market, such as indoor gateways, outdoor gateways, and gateway concentrators. When choosing a LoRa Gateway, you should consider factors such as coverage, budget, and connectivity options. Some of the popular LoRa Gateway brands are Kerlink, Multitech, and RAKwireless.
Step 2: Setting Up the Hardware
Once you have chosen the right LoRa Gateway, the next step is to set up the hardware. The first thing you need to do is unbox the LoRa Gateway and assemble it according to the instructions provided by the manufacturer. You also need to connect the LoRa Gateway to a power source and the internet. Most LoRa Gateways come with Ethernet or Wi-Fi connectivity options. You need to select the appropriate connectivity option based on your network infrastructure. You also need to install the necessary software and drivers provided by the manufacturer to configure the LoRa Gateway.
Step 3: Configuring the LoRa Gateway
Once the hardware setup is complete, the next step is to configure the LoRa Gateway. You need to access the LoRa Gateway’s configuration interface using a web browser. The configuration interface allows you to set up the network settings, such as the frequency band and LoRaWAN version. You also need to set up security measures, such as passwords and firewalls, to ensure the safety and privacy of your IoT network.
Step 4: Adding Devices to the Network
Once the LoRa Gateway is configured, the next step is to add devices to the network. LoRaWAN devices are compatible with LoRa Gateways, making it easy to connect them to the network. You need to register the devices with the LoRa Gateway and configure their device profiles. Device profiles specify the device’s network settings, such as the frequency band, data rate, and transmission power. It is also essential to troubleshoot device connectivity issues to ensure that all devices are connected and communicating with the LoRa Gateway correctly.
Step 5: Testing and Monitoring the Network
Testing and monitoring are essential to ensure the reliability and security of your IoT network. You need to test the network’s range, capacity, and performance to ensure that it meets your requirements. You can perform range testing by measuring the distance between the LoRa Gateway and the devices. Capacity testing involves measuring the network’s ability to handle a large number of devices simultaneously. You can use various monitoring tools and platforms to monitor the network’s performance and detect any issues or anomalies. It is also important to keep the network updated with the latest firmware and security patches to ensure the network’s stability and security.
Conclusion:
Configuring a LoRaWAN network using a LoRa Gateway can seem daunting at first, but it is a relatively simple process if you follow the right steps. By choosing the right LoRa Gateway, setting up the hardware correctly, configuring the gateway, adding devices to the network, and testing and monitoring the network, you can create a reliable and secure IoT network that meets your requirements. A well-configured LoRaWAN network can enable a wide range of IoT applications, such as smart city solutions, precision agriculture, and asset tracking, among others. With the right tools and expertise, you can unlock the full potential of IoT and revolutionize the way we interact with technology.
FAQs:
1. How to choose the right LoRa Gateway?
When choosing a LoRa Gateway, you should consider factors such as coverage, budget, and connectivity options.
2. How to configure a LoRa Gateway?
You need to access the LoRa Gateway’s configuration interface using a web browser. The configuration interface allows you to set up the network settings, such as the frequency band and LoRaWAN version.
3. How to add devices to the LoRa network?
You need to register the devices with the LoRa Gateway and configure their device profiles. Device profiles specify the device’s network settings, such as the frequency band, data rate, and transmission power.
4. Why is testing and monitoring important for a LoRa network?
Testing and monitoring are essential to ensure the reliability and security of your IoT network. You need to test the network’s range, capacity, and performance to ensure that it meets your requirements. Monitoring helps detect any issues or anomalies in the network’s performance.